Sunday 23 October 2016

Quarterly Craft Box

This quarter I have decided to try something a little different.  Rather than the next quarterly box being a mystery I will be releasing images daily of items that will be found within it! Eeeek!
I have been having lots of ponderings about my boxes and was thinking seriously about  stopping them altogether.  But before I hand in the crafty box ticket I thought I would try something a little different.

I was thinking about what people want to buy, do you guys really want to spend £40 on a box of stuff that you have no idea what's inside other than it will contain 4 craft kits and a few gifts? Well of course not! Let's face it, nowadays you want to know what your getting and although there are some very successful mystery boxes out there on the market, crafters, it seems aren't as interested in Crafty What Nots boxes as I had hoped.

So the Winter box (or the Snuggle box as I like to call it) is an exciting box where you will know exactly what your going to get.

Another exciting element of the box is that it is a collaboration among 10 small businesses!  So there is such a big variety (in fact I found it very hard to stop buying lovely things to put in!)
Here is an image of all the businesses taking part.


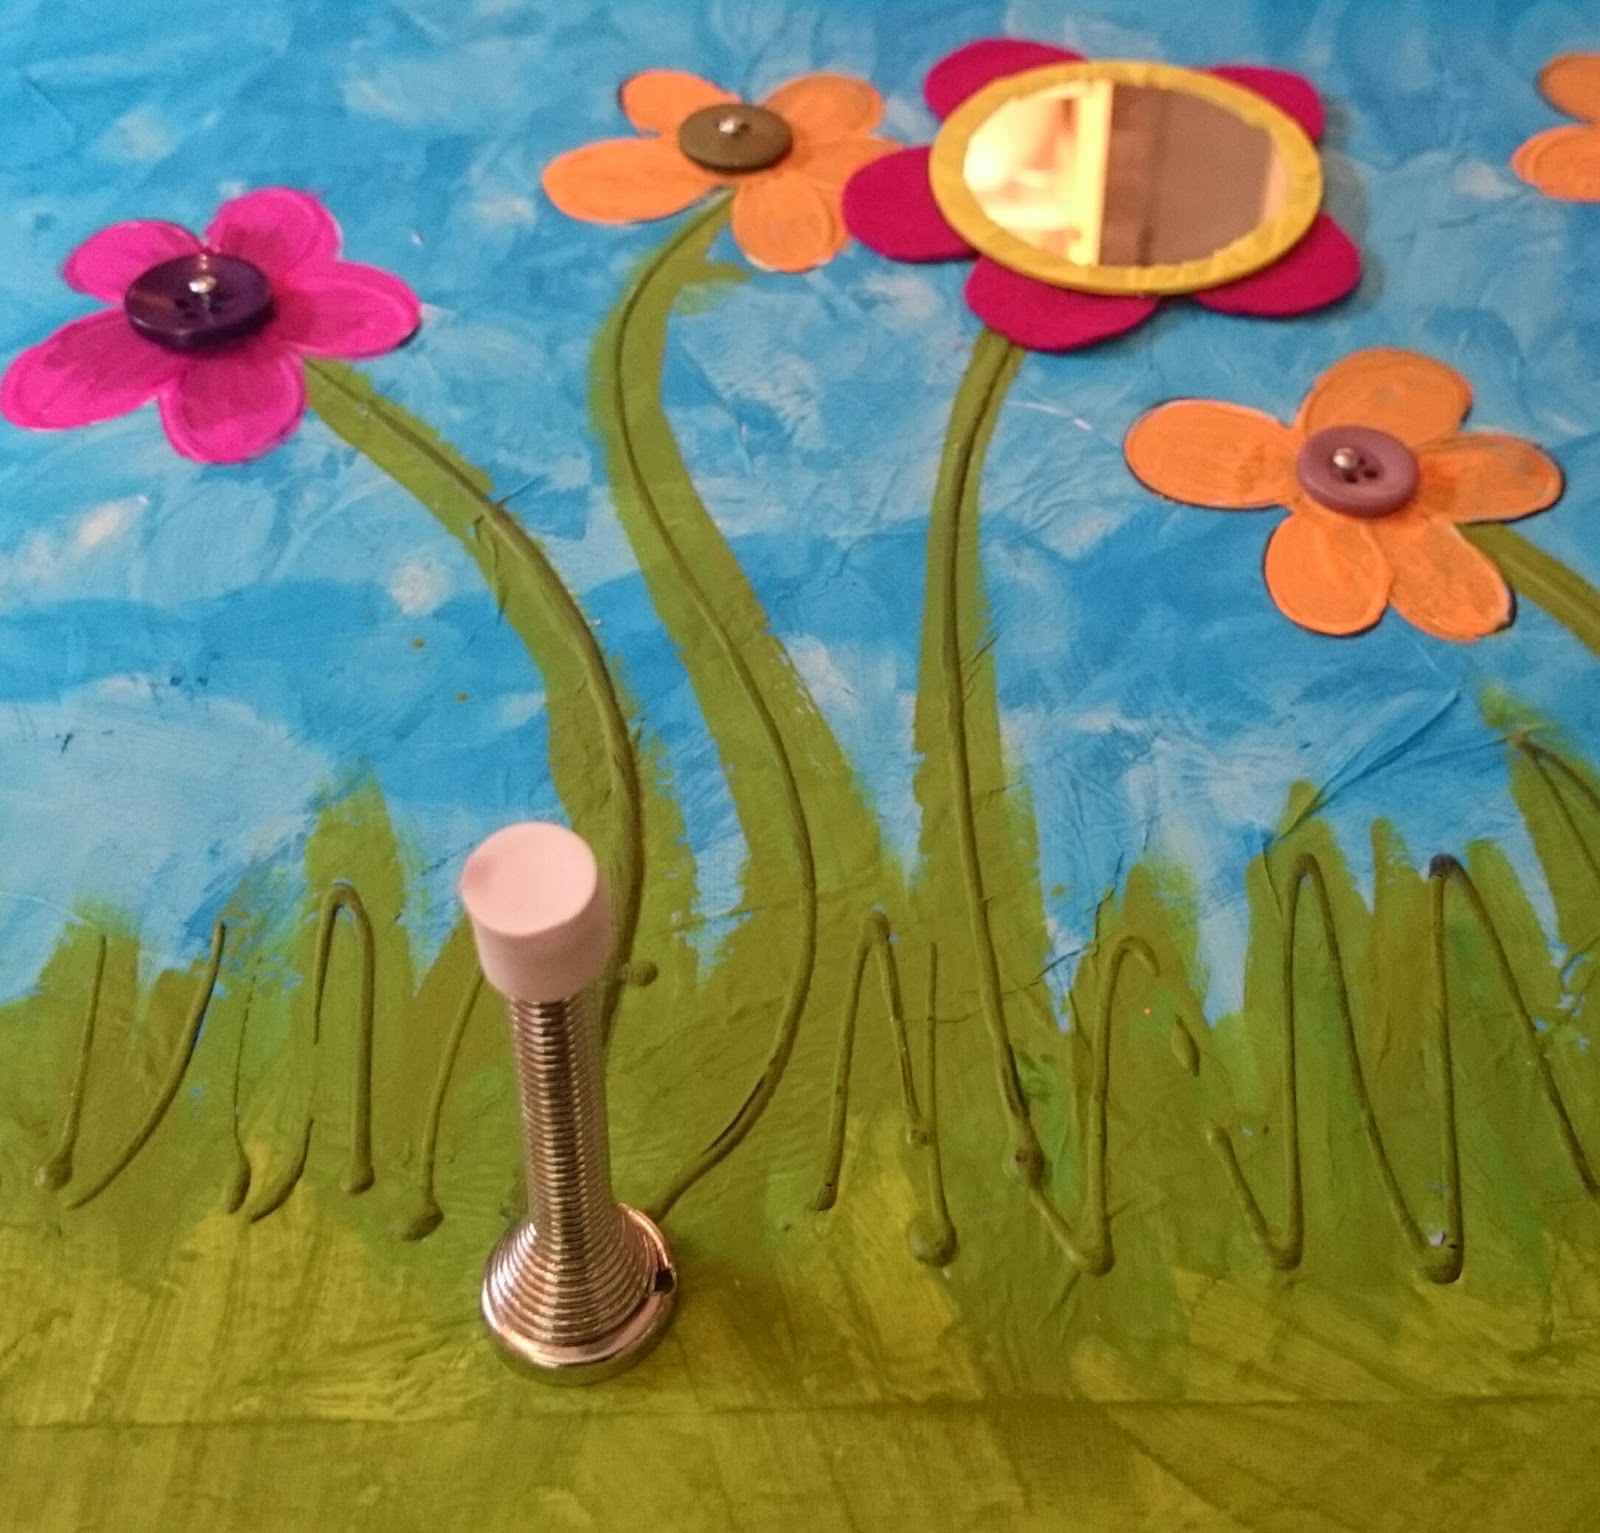
Everyday on my page I am doing a countdown.  So far we are at day 17.  Here you can see some of the things included in the box.  So far we have...
Pom pom pen
fudge
heart charm keyring
oil burner and wax melts
wooden heart embellishments
pretty ribbons
bunny ring
felt making kit

Other items will follow so if you would like to be kept up to date and find out what is in the next box then do visit either my Facebook page here or Instagram here


The countdown will finish a week before the order books close.  There are only a small limited number of boxes available so do let me know if you are interested to avoid disappointment.
I am also more than happy to set up a payment plan.

I do hope you have a great week and fingers crossed I will be back again next week.
I will be sharing my blog over at Handmade Monday, My fav place to be after the weekend.

Jen xx


Monday 3 October 2016

What's new?

I can't believe it's been over a month since last blog post.  Where does the time go?

It's been a funny old month.  I have become quite busy with my Jennysis page which has been so lovely.  I have been creating some illustrations for some super customers. Here is one of my Dinosaur Tamer images which recently went to it's forever home.


I also completed this fab superhero commission.  I can't release the names yet... top secret!


By far the most popular thing I have been creating have been scratch cards.  Each card has something exciting under the sticker to scratch away.  Some hold money off while others a free gift.  They are totally personalised to each business which is fun. 


I love the different stickers that are available too.  I now have hearts and coloured circles in stock.


This one is mine!

I have found the business side of things really has taken over.  I am creating logos and business cards as well as random supplies.

Another big thing that has been keeping me busy has been my stock clearance!  I have so many pads of paper in stock and reduced so it is well worth seeing if there is anything you need!
I have most items listed on my website www.jennysis.com.

I am also able to order from some wonderful wholesalers so if you are after anything please feel free to challenge me.

Well I had better go, I am busy designing so must try and fit in a few bits before heading out.

Have a lovely week and I hope to be back next week.

I will be popping by Handmade Monday so do pop by and say hi!

Jen xx


Sunday 21 August 2016

Mermaid wishes and starfish kisses

Hi all.  Anyone else drowning in the school holidays?  Ours haven't been all bad at all, just very full on! I have to say I am a little looking forward to them finishing though!
So what have I been up to on the crafty front?  Well despite the chaos, inspiration seems to have been flooding my brain (and frustration at not having time to do all my ideas!).

I have been working on wedding portraits, here are a couple of couples I have recently illustrated.  There are before and after pics so you can see the similarities.  I also took a video so you can see the sparkly details on them. If you would like to order a wedding portrait then please click here.


Illustrated wedding portrait - www.jennysis.com

Illustrated wedding portrait - www.jennysis.com


I also started producing stock images which can be personalised.  So the first one is Mermaid!  You can be made into your very own mermaid!  The first one is me! Eeek! (I know I rarely show my face do I)  The second is of a lovely friend who ordered one as soon as she saw the first!  If you would like to be a mermaid then they are £20.  Each one has shiny accents adding lots of depth. (watch the video to see what I mean)  I am going to be adding names underneath too, these ones where my practise runs.

Personalised mermaid illustration - www.jennysis.com

Edited - I have now added names and I think it makes them so much better! what do you think?

Personalised mermaid illustration - www.jennysis.com

Personalised mermaid illustration - www.jennysis.com


I have a few other designs in the pipeline including princesses, knights and invitations for kids parties. (all personalised of course)
I am hoping to produce these as cards as well ... hopefully!

I have also opened my order books to logo design.  So far these have been popular and with the started package being £20 with 50% off while I add to my portfolio I have a few to do.  I have 2 spaces left at the 50% price of £10.
So what do you get????
Well you will get a facebook profile pic logo on a square background (as facebook likes to crop images and cut bits off!) You will also get a larger logo jpeg and a watermarked png to put over your photos (I really need to do this to my photos)


Lastly ... I have sent my little book off to the printers! Yippee! Just have to wait to find out waiting times and costs and then I will open the order books for the first Crafty What Nots Children's box!  I'm so excitied!  I have decided that the first box will be aimed mainly at preschool and reception age.  I was going to create two boxes as well as a school and preschool box.  But as this is a pilot box I didn't want to be too ambitious.  So I made the decision to just do the younger age, then if it proves popular I will create the other boxes.  I just hope people will love the characters as much as I do!
If you would like to see what the characters have been getting up to then they have a Facebook page, just click the image below. 


Well I think that's enough for today! I will be off to link up with Handmade Monday, do pop by and read some lovely bogs!

Jen xx


Tuesday 26 July 2016

Trying to be a Good Parent ~ the crafty way #5

Just popping by to tell you about a little hack I created recently to entertain my youngest at the table.  Lucy, just recently turned 1 and until now Duplo has been something to suck, chew or generally lob at people or on the floor.  I figure it was time to change this! (in a developmentally appropriate way of course!) 
We have a couple of smaller base plates so with zip ties at hand I attached one of these to the top of her highchair tray.  I then rested several bricks on the table next to her to take as she wished.  I tried filling  a bucket and attaching this but she just upended it.  


I was very close to thinking this may actually not be the best of ideas when.... all of a sudden she started to build! she discovered the bricks attached and rather than destruct-a-girl she started to construct.  

This video is of the first time she actually made something.  (please feel free to skip. I was being a bit of a proud mum and videoed far too long! (a couple of minutes seems an age when your looking back!) She actually sat and played for an hour! I was so gobsmacked that it entertained her for that long, she was completely engrossed.

)


Anyhow since the video was taken Lucy has settled on one particular style, she builds lines, she claps each time in total excitement (as little ones do)  It's so lovely to see creativity, even if it really is in its infancy.


One warning if you do this at home, make sure you wash any spills under a tap!  I found using a wet wipe around the little bumps just made more mess!

One suggestion a friend of mine made was to glue Duplo to the base of bowls or cups to keep them in place.  Think this is a fab idea (although Lucy will pull them up now and make a line with them so wouldn't work anymore).  

Well that's all from me this week. I'd better get on with all my illustrating.  Until then I will be popping by Handmade Monday as always to say hi.

Jen xx

Sunday 17 July 2016

What's New Pussy Cat?

Welcome once more to my little blog page.

Since last time I have launched the Autumn mystery gift and craft box and those wishing to buy it can enjoy 20% off with the code AUTUMN.


I am so excited to have 7 pages collaborating with this box! It's going to be wonderful and the gifts being made are beautiful!  I so hope others are as excited as me as it will all be very different from my monthly boxes!

In other news I have launched two new crafty kit boxes.


Lavender Wands


Origami Flower 

Each kit includes everything you need to create either the flowers or the wands (yes including the Lavender!)

I have also opened my order books for the Christmas Eve Box! (I can't believe I said that!)  This little box of festive delight will also be a collaboration with small businesses and bring you gifts and craft kits to enjoy on Christmas Eve!


What a wonderful way to relax before the hustle and bustle of the big day!

So what else? Well last week I was very privileged to run two workshops.  We have an event called 'Try This' which runs in Dorchester and encourages people to try things out.  There was a whole program of interesting things to learn or try including beekeeping!  Well I volunteered to run a couple of craft workshops, they both filled up really quick and I even had a waiting list!!!  Both sessions went really well.  I forgot to take pictures of the send (we made paper handbags) but I took a few of the first.  Here are some of the wonderful creations made by the lovely ladies who joined me to learn to make origami flowers. 


Well I better leave you now before I witter on too much!

I will be popping by to share my little blog over at Handmade Monday so if you have a blog or would love to find some new ones to read then do pop by!

Until next time.

Jen xx


Sunday 26 June 2016

All change!

How do all!  Sorry I didn't post last week, it's all been a bit manic, up in the air and all change here!
The first bit of news is that after much soul searching I have decided to stop creating my monthly boxes. I was finding each month was becoming so stressful, particularly on the marketing front but also on deciding what to create.  If you have had a box from me, firstly thank you so much, but you will know that the boxes I used were large letter.  Until you have to design new tutorials and gifts every month that can only fit in a 2cm deep box it is hard to imagine how restricting that is and my ideas really were running dry!  I have too many ideas which require more space and I didn't want to increase prices for the odd larger craft or gift.
Marketing...oh marketing, how I hate thee!  I don't know about you but I find this the hardest aspect.  I have learnt loads but it seems that I really need to focus more and spread myself a little less thin!  Any tips??

Anyhow, onwards and upwards!  I have had plans for alternative boxes for some time now so I thought I would share the latest and most exciting news with you!  I will be launching two new boxes.

The first is the Crafty What Nots craft and gift Season box.  This box will be a quarterly box and I will be collaborating with other designers to bring you 3 beautifully handmade gifts to keep or give as presents.  There will also be 4 craft kits, these will include a Jewellery making, papercraft, needlecraft and a mystery kit!  The format will be different too and although there will be some bonus craft supplies they won't dictate the box theme in the same way and will just be added extras to build up your crafty stash.  The boxes will also be delivered in small parcels too, so extra room for extra goodies!  I'm so looking forward to working with other designers!  I have two already lined up and just need to seek out another for the Autumn box.  If you have products that you think might work in one of the boxes please do let me know as I have space in the Spring and Summer ones and one in the Autumn.

The Seasons box will be £40 plus postage but there will be a payment plan (which offers 10% discount) and there will also be the odd code on my Facebook page!  In fact there will be a discount code for the first box on the 1st July when I launch so don't forget to call by to find out more!

The second box (and this is one I have been planning for years but never had the time.) Is a brand new Children's mystery box!!!!


I have been writing stories about these lovable characters for years and now they are going to have their own box!  I'm going to start with a pilot box and depending on it's popularity I may make more that are quarterly, bimonthly or even monthly.  Each box will come with a story book (written and illustrated by myself!) and craft kits relating to the story.  There will also be a newsletter included tell you all about what the characters have been up to between boxes.  I have set up a Facebook page as well so that children (with parents permission of course) can catch daily highlights of what Pip and Custard have been up to.  (each post is aimed at a young audience so no promoting other pages, causes or memes to make you laugh, just the characters)
I've not launched this quite yet as I have a few things to still iron out but I am hoping the first boxes will go out at the beginning of August ready for summer holiday entertainment!
Order books won't be open very long for this pilot box so if your interested feel free to let me know and I will make sure you are the first to know!
(jenny@jennysis.com)

Here are some of the illustrations for the first box story!


Well I think I may well have bombed you with rather too much info (and so much more to tell but that can wait!)

I will be popping by Handmade Monday as always so do pop by and say hi!

Love Jen xx


Monday 13 June 2016

Trying to be a Good Parent ~ The Crafty Way #4

In my garden I have a beautiful decked area which up until this year I really hadn't utilised.  It is quite new as the old one had rotten through.  It has been so lovely to wander onto but not so practical for the kids to be unattended.  Don't get me wrong, there is loads of space to run around but the handrail had large spaces underneath which meant littlest could go plummeting off the edge in her baby walker (not good!).

I wanted to share with you my practical (and possibly not so practical) solutions for the space under the hand rail.


Giant abacus


String art


Beaded wire things (sorry that wasn't v technical!)


Lastly this is my latest creation, a water play station,  We had been saving plastic bottles for ages and I had this vision and I'm actually really pleased with how it turned out.  What do you think?

I hope you have a lovely week. 

I will be popping by Handmade Monday as usual so do pop by and see some lovely blogs xx

Saturday 4 June 2016

A little Dylusional fun!

Recently I treated myself to a few Dylusions paints.  Oh my, the colours were so beautiful and after watching numerous videos on You Tube and the new Hochanda channel I was all set to paint, paint, paint.... well nearly!  In fact it took me a few days to pluck up the courage to try them.  I love colours and my favourite place in any department store or shop has always been the stationary department.  You can keep your shoes, I can walk straight past the bags, turn my nose up at the perfumes and head straight to my favourite place! And why? Because I love the colours and variety.


Well Dylusions paints hit me the same way, the colour range was wonderful and the things people could do with them were amazing! How on earth could I top these creations! 

Well I plucked up the courage to open the pots.  I learnt some great tips, these are ...

  • -Give the pot a good shake and then tap it a few times on the table.  remove the lid and work from there rather than dipping brushes or sponges into the pot itself. (great if you accidentally contaminate it.)
  • - have a mist it handy full of water.  When you have finished with your pot, give a quick spray on the paint and close it up.  Sometimes it is worth doing this before you use it (just give it a shake again after)
  • When starting out go for colours that fit well together, ones that sit on the same side of the colour wheel.  I instinctively wanted to use green and purple but don't!! try greens and blues or yellows and greens etc and start by working with three colours
  • When you finish what you are doing then dab your sponge or brush on a clean sheet of paper or journal page until the paint is all gone.  The more you get off the sponge the more use you will get from it without the need to wash it! Also you can create some great paper to use for backing sheets later on!
  • A little goes a loooooong way!
So I thought I would share with you my first video.  I am using my Crafty What Nots colour application tool kit to create a journal page.  Hope you enjoy!


My Wholesaler is now stocking the whole range of paints, that's 18 beautiful colours!  I am selling them on my website with a great discount so if you fancy some do pop by and visit.  I will be releasing more videos on how to get the most from the paints and also using some amazing other products with them such as gesso and mica!

The colours really can depend on vibrancy depending on the surface you are using.  I used them to paint my door guard so they really are versatile!


Well I hope you all have a lovely week!  I will be revealing the contents of this months Crafty What Nots boxes and have a few lovely reviews to share with you.

I will be popping by Handmade Monday to share my blog so do pop by and see who is around!

Jen xx


Monday 23 May 2016

Trying to be a good parent ~ The crafty way #3

This weekend I have been super busy getting creative! I thought I would share with you my first creation.

In order to keep Lucy in the living room I created this little barricade.  I needed it to be low enough for Emily to climb over but high enough that the baby couldn't escape and also noticeable enough so us adults, in our dazed state didn't go tripping over it!

The board lifts into place and sits in the gap where the door opens (by the hinges, this helps keep the door open as well so no squished fingers!)  the other side I fixed a scrap bit of wood to the door sill.

The first thing I did after cutting the board to size was to cover it in white tissue paper and use wide tape around all the edges.  I used a 3d glue to draw the flowers.  I was very liberal with it so that it gave it lots of texture. once dried you could feel all the petals and stems.  Very tactile!


Next I grabbed my new Dylusion paints and started to add colour. I actually quite liked it at this stage.  The tissue paper gave the background such a wonderful colour.  You can see the black lines leaving a bit of shadow here now they have been painted over.


I got busy painting the flowers, trying to keep things bold and fun.  Once I had finished with the colour I added some glossy accents to highlight some of the petals and add even more texture.


Now for the fun bit! I cut out petal shapes and glued them to one of the flowers then added a round mirror to the middle (found in the range) I went round the edge of the mirror with washi tape before gluing just to make sure the edges were as safe as possible.  I added buttons to flower middles (using nails to secure them) and added those fun (yet very noisy) door stops.  I also upcycled a pair of old jeans to create a cushioned ridge along the top.


Hey presto, all finished.  Now add children and away you go (honestly I could escape into another room!)


What have you been up to this week?  I have another couple of exciting parenting type posts lined up, one about reward charts and the other about how to make an outdoor abacus so don't forget to follow me so you don't miss out!

I will be popping by Homemade Monday as usual as well as Creative Monday so why not come and say hi!

Jenny xx 


Sunday 15 May 2016

Embossing metal

This week I have been working on a couple of new kit boxes.  Do you remember, back in October, I posted a tutorial on how to create an embossed metal leaves? No (it was a while back, so here is the link to refresh your memory) Well it was so successful I decided to run a workshop.  We created some gorgeous metal embossed coasters! (I typically forgot to take a photo of everyone's coaster!)


I thought, as I often do, hey! I know what I'll make these into a kit!
So the latest crafty kit was born.

I still have a few stickers to create and a button for my website but otherwise they are almost ready to go! The price for this kit box is £20.  You get everything you need to create 4 beautiful coasters.  
Set includes ~ 
4 coaster blanks
4 cork backs
4 squares of two toned metal sheet
Practise metal sheet pieces
Embossing tools
Stamps
Acrylic block
Ink pad
Glue
Instructions and inspiration

metal embossing coaster kit


The Kits will be available very soon on www.craftywhatnots.com but if you wish to put your name down now and reserve one of the first boxes do let me know.
I will also be creating kits for you to use in your own workshops so please do let me know if you fancy more info.

I have been really enjoying preparing this box and renewing my love of metal work.  Here are some metal doodles I've been creating to practise my skills. (it's v addictive!)


I think I am going to be doing a lot more, I'm totally addicted!

Well I'm off to see what some other crafty bloggers have been up to.

Bye for now, maybe see you over at Handmade Monday

Jen xx


Monday 9 May 2016

May Day - Crafty What Nots unboxing

It's that time of the month again to show you what exciting goodies were inside May's mystery box!
Here is a little video of me unboxing it (I can never get used to doing the talking on these things).  The theme (as you may have guessed) was May Day.  As always there were two crafty kits inside.  One to make a decoupaged peg board and the other to learn the basics of Iris folding. I really loved the papers in this box.  I don't normally care for the vintage theme if I'm honest but these were so great and there was so much to make with them.


This months handmade gift was a decorated ruler, mechanical pencil and a rubber.  

My problems I faced with this box were primarily glue.  I always include whatever glues or sticky items you might need and this box needed a roll of sticky tape as well as glue.  I had run out of all my little glue pots and if I'm honest they wouldn't have been big enough so I tried something new!

I sealed the end of an extra wide straw (thanks IKEA) and then filled with glue (Mod Podge is by far my fav!) ad then sealed the other end up! perfect and it is amazing how much I got in there!

The next box theme is 'My Guy' perfect for those crafting for a man in their lives, although if you don't or would rather just craft for yourself then this box is perfect as one of the tutorials is a little upcycling Jewellery kit!
Here is a little peek

sneak peek, upcycled jewellery project

Order books for June's box close on the 15th so if you fancy trying a box out (with no obligation at all) then visit www.craftywhatnots.com and click the 'buy me' tab 


I am also on the look out for promoters.  If you have a good two of either facebook, instagram, blog, twitter and would be interested in testing and promoting a box please do let me know either below or drop me an email at jenny@craftywhatnots.com.  I am happy to welcome overseas testers.

Have a fab week and do pop by Handmade Monday and Creative Monday to visit a few new blogs and read some familiar ones! 
xxx


Monday 2 May 2016

Trying to be a Good Parent - The Crafty Way #2

I thought it was about time I show you another of my 'crafty' parenting tricks.  If you missed #1 then pop by and see my 'well done' wall here.

I don't know about you but I love lists, particularly ones that are useful and I can see at a glance!  I had this unsightly door in my kitchen that I really felt needed a makeover!

I popped to our local DIY shop and bought a tin of blackboard paint (it is cheaper online but I wanted to use it straight away and patience is not one of my strong points!) This one is actually magnetic, don't get too excited though, it only really works for really large light magnets!


I took the door off it's hinges, lay it on the table and got to covering it in gloopy black paint! If your thinking of doing this use a roller, nothing worse that brush strokes!

Once I had done a few coats and it was all dry I rehung the door (it was a very light door thankfully) and got to work with my chalk pen.

Here is the finished door.


The door has evolved over time as we have got used to it.  It started as just a to-do list and shopping list.  I added 4 circles more recently so we could show how we are feeling, it;s a good way for my middle one to explain her emotions.  (she drew daddy's emotion yesterday, he has three noses or rather to be exact two nostrils and a nose!)

We are also doing a parenting course (as I know I mentioned before) and one thing we had to do was devise some house rules.  This actually resulted in many arguments so in the end we settled with the simple 'We take care of people and things'.
The lowest section is a picture frame for the kids to draw in. (it's the most accessible area for them)
I am sure it will be filled with works of chalking genius in no time.

The thing I love most about this board is shopping list.  I know I can't take it with me, I don't have a big enough bag! All I do is take a photo of the shopping part of the door and hey presto I have my list to go without wasting paper!  The shopping list is always kept up to date as we add to it whenever things are out or low.

A word on chalks! I used this chalk pen from Dovecraft to do all the things that I wanted to remain relatively permanent.  It is so smooth to write with and you can easily wipe over to remove normal chalk marks without this being rubbed away!  I have a bowl of normal chalks near the board so we can always add the to board and rub away as needed.


I actually have a few of these pens in stock as my wholesaler requires minimum ordering so if you are interested in one you can buy one here.  The price is reduced down to £2 but I only have 5 left.

I am desperate to for other things to cover in blackboard paint now! 

I am off to share my blog over at Handmade Monday and Creative Mondays, do feel free to pop over and see a few great blogs!

Jenny xxx


Monday 25 April 2016

Pen Storage

To say this has been a big bug bear for some time is a bit of an understatement.  I have been on a constant quest to find the perfect storage for my pens ever since I had too many to fit in my pen roll! Now, as you may well know, alchol pens really need to be stored on their side.  This is mainly so that one end (mine are all double ended) doesn't fill with the ink and the other dry out. My main problem has been that storing pens on their side is frustrating.  they are harder to identify and storage for them is a nightmare!
The first thing I did (as so many do I expect) is search Pinterest for storage.  Now I know that you can buy custom made storage but aren't they expensive!!!  I discovered a great idea using a DVD rack.  I searched high and low for a rack that would work but to no avail.  My next idea was to create a similar effect using lots of dvd cases and copious amounts of glue and washi tape.  This worked to an extent but I could only house some of my pens this way and it was very labour intensive to create just one box so many was a daunting job!
My latest breakthrough came when a wandering through the Range (a pastime of mine! lol) I found these lovely boxes made by Curver.  The thing that attracted me to them were the holes in the sides and also that the sides were square.  many boxes have sloping edges which makes things much harder!

I discovered that I could Fit 2 wooden skewers into the holes.  I measured the width of the pens and pushed through two skewers at even intervals up the front edge of the box.  I then pushed through one skewer at the same level but further into the box so the pens would have something to rest on.


I used wire cutters to cut all the skewers flush with the side of the box and then used a glue gun to secure all the ends in place.


I discovered that if you make a mistake with the glue gun and wish you had put a skewer somewhere else then just heat it over with a heat gun and it melts enough to move it.

Once cooled I then started to fill with pens!

My earlier attempts at this storage included created a twine lattice grid behind the front skewers, this did stop pens going side to side but it also meant that the pens bounced a bit inside.

You can also see that I washi taped the front sticks together to add a bit of decor on this one.  My aim was to use white stickers to cover the two rods and then colour them in with the pen colour above them.


Well here is my colourful corner! Fab pens and beautiful paints. 


Well for now I love it!  I may find an even better way to store my pens but until then... yeah!

Do you have the same problem?

I will be linking up on Handmade Monday so do pop by and check out some great blogs!

xxx