
Mini Pocket

This really is an easy project which you could attach to the front of cards or pop into smashbooks and other journalling projects. I added a coordinating tag to mine and some flowers. The extra bonus for this project is that you don't need any glue (except for embellishments if you wish to use them)

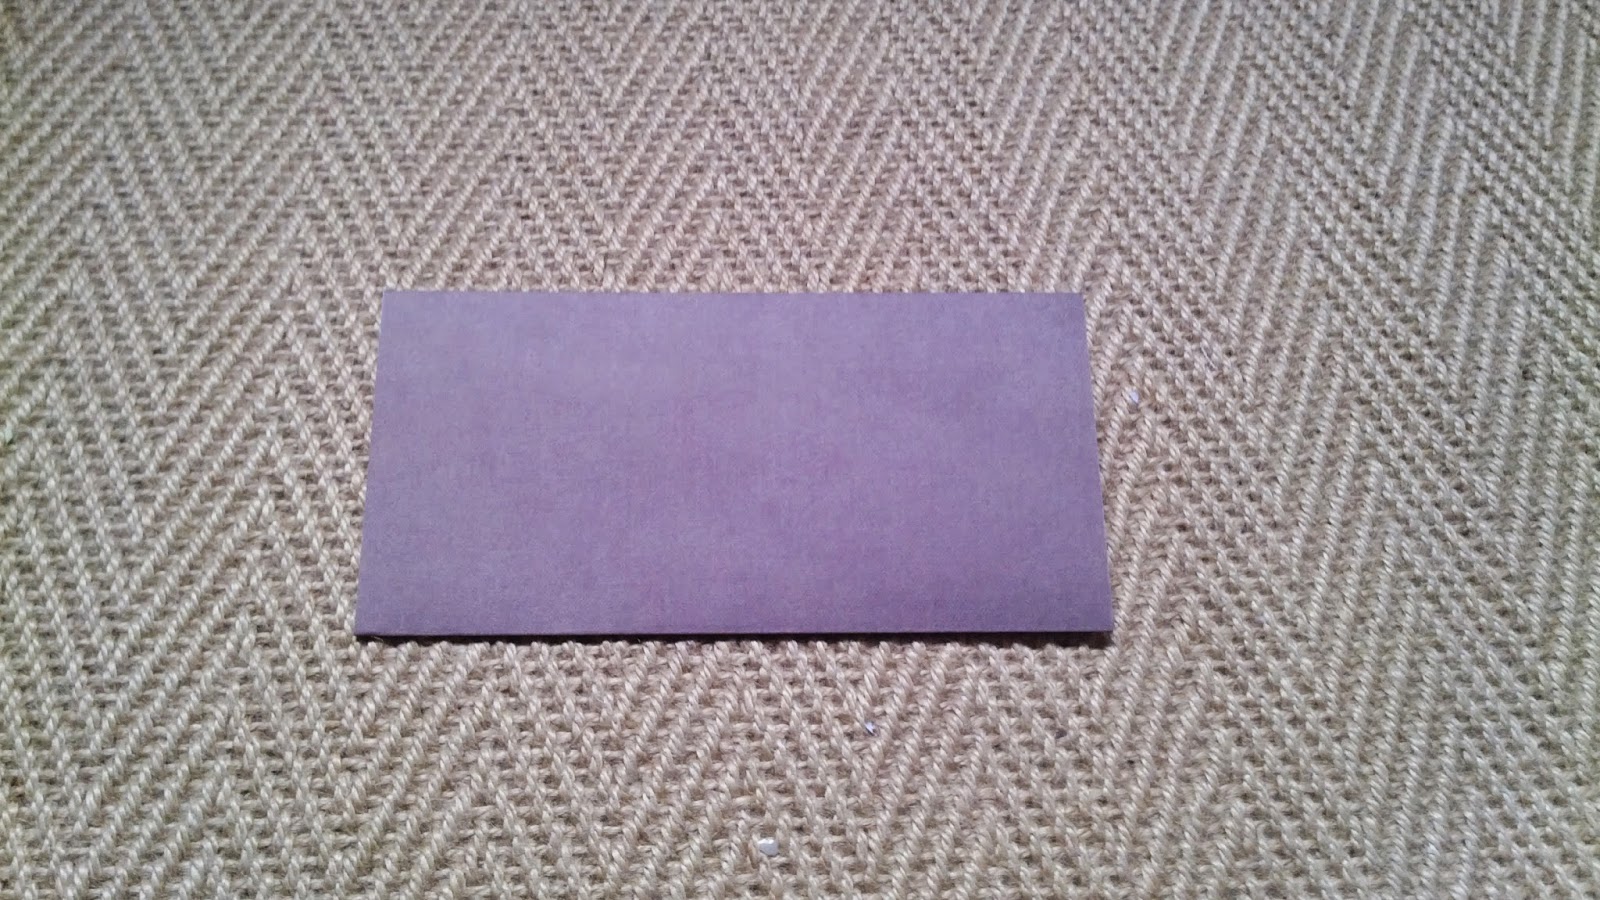
1. Take a square of paper. I have chosen 6x6" double sided paper.
2. Fold the paper in half width ways

3. Now fold the paper length ways

4. Now fold the bottom section up

5. Make sure the paper is positioned so all the points of the piece are pointing away from you. (this means that no folds are in this section.) You need to take the top most section and fold it fully down.

6. Next take the next corner down and fold it so that it it isn't folded down as far as the last point, leave a 5mm gap.

7. Take your next corner and repeat the last step. You should have staggered triangles on the base now like the picture.

8. Now it's time to be creative!!
Well Happy crafting out there crafters
xxx
No comments:
Post a Comment